Follow the instructions below to copy and move your videos to the desired destination.
Contact the Media Services if you need to batch copy / move files.
- Locate the video you would like to copy on your Camino course page.
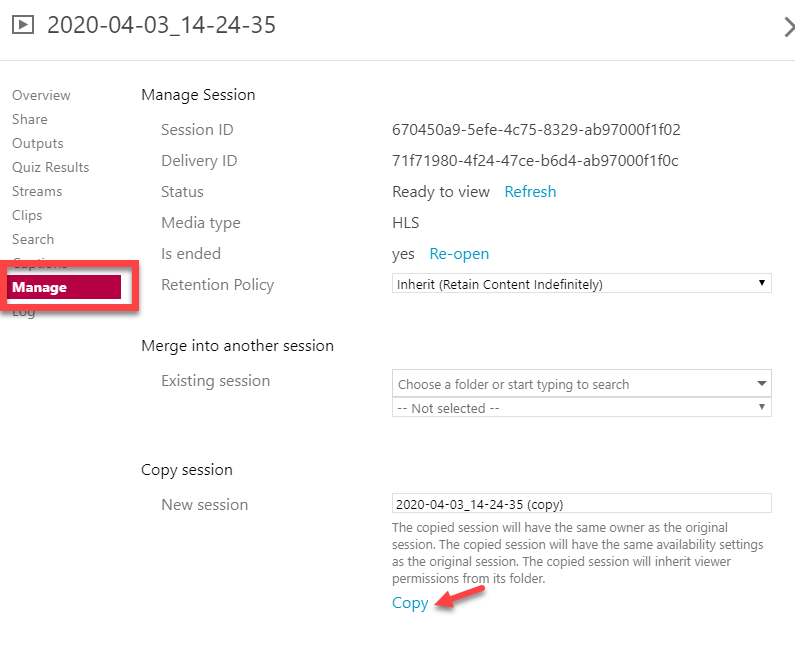
- Hover over the video to reveal the Settings button > Click Settings button.

- Click the Manage tab on the left side of the pop-up window, scroll down to Copy session, click Copy to create a duplicate of the desired video.
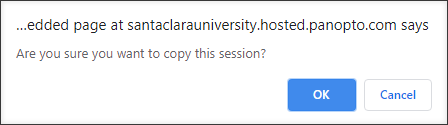
- Click OK when prompted to confirm copying a session.
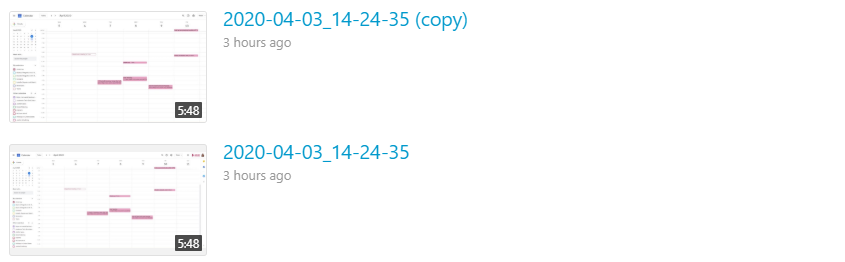
- Close the pop-up window and you should now see there are 2 of the same video.
- Move this copy to a new folder following the steps in the next section...
If you have a recording on the Class Recordings tab that you want to move to a different folder, follow these steps.
If you already follow the instructions above to copy a video, jump to Step. 4.
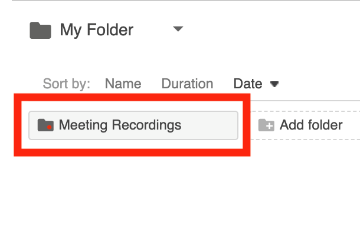
- Click on the Class Recordings tab (Click the dropdown menu to view all of your folders)

-
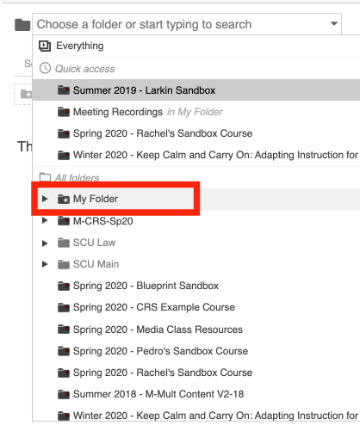
Choose the folder that has the video you want to move. If the recording was not generated using Zoom Pro on Camino, it will be in “My Folder”.
*If you do not see your desired video in the dropdown, begin typing the desired folder name in the search bar.
- Select Meeting Recordings (if in your Personal Folder)
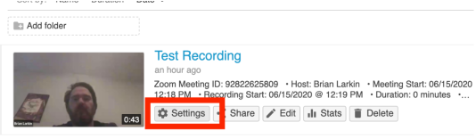
- Find the recording you want to move (Note: It might still be processing. You can still move a video while it is processing.) and click Settings.
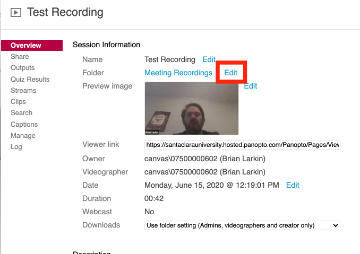
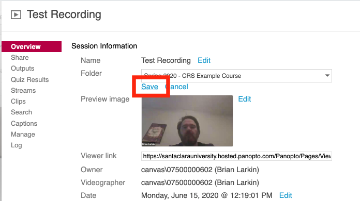
- By the Folder section, click Edit
-
Choose the Class and/or Folder where you want to move the Zoom Recordings TO.
*If you do not see your desired video in the dropdown, begin typing the desired folder name in the search bar.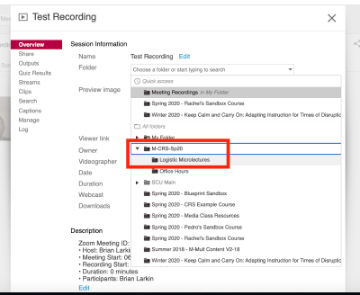
- You’ll see the new folder name in the Folder section. Click Save.
- Go to the destination folder and confirm it is there.