These instructions will assist you in backing up your files on either Windows or macOS.
Windows
You will need an external media to backup to. An external hard drive is suggested as "thumb" drives fill up quickly and are usually slower.
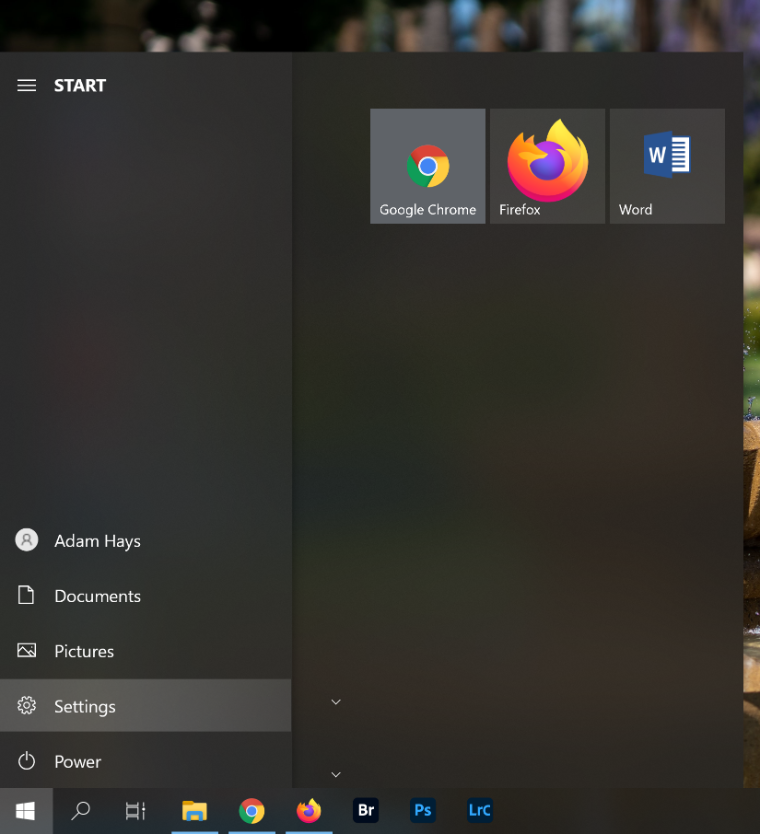
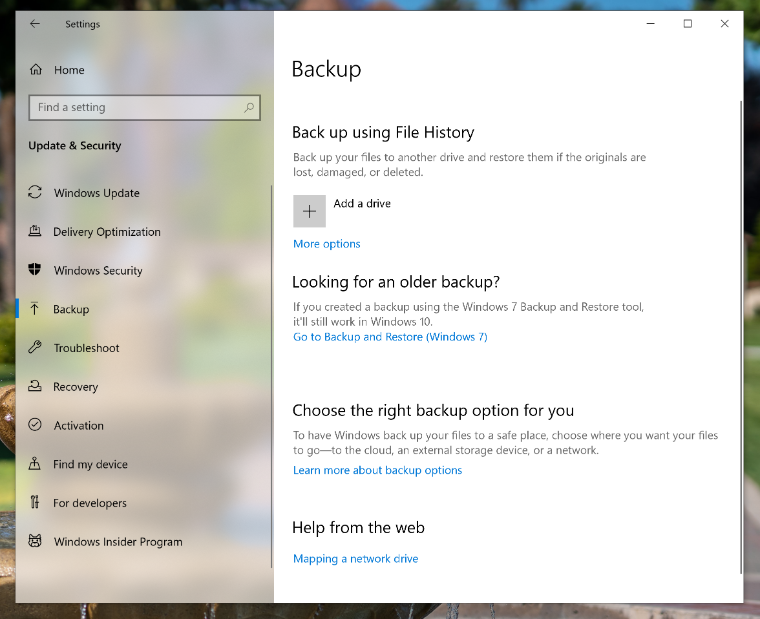
1. Click on the Windows logo (Start menu) at the bottom left of your computer screen and click on "Settings" (gear icon):
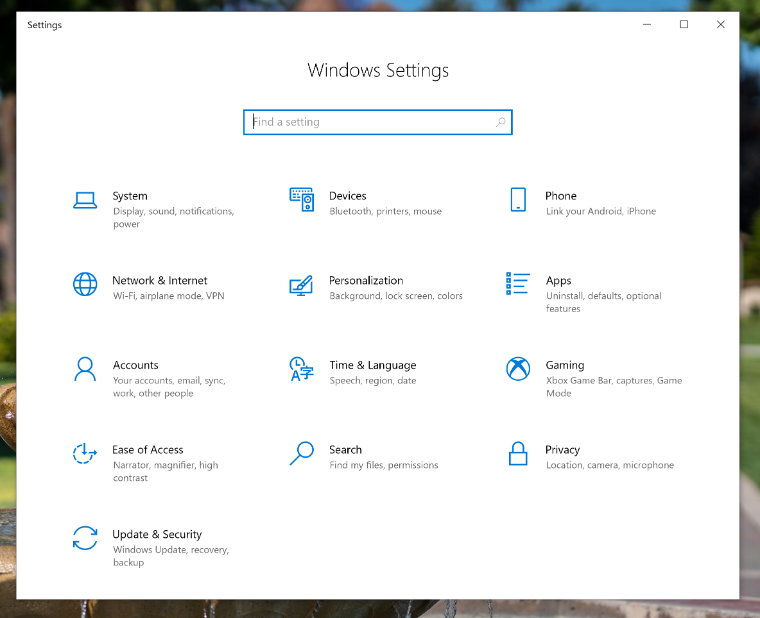
2. Once you click on "Settings" you will see the "Windows Settings" screen.
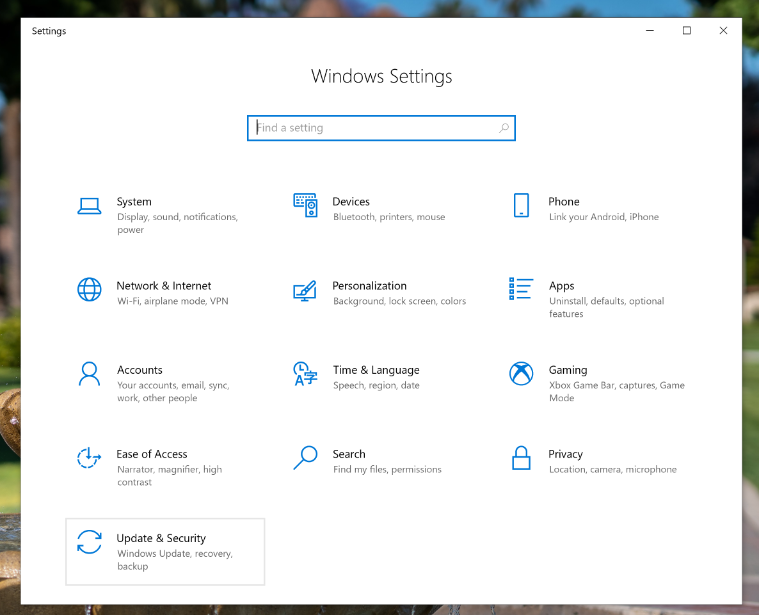
3. Click on "Update & Security"
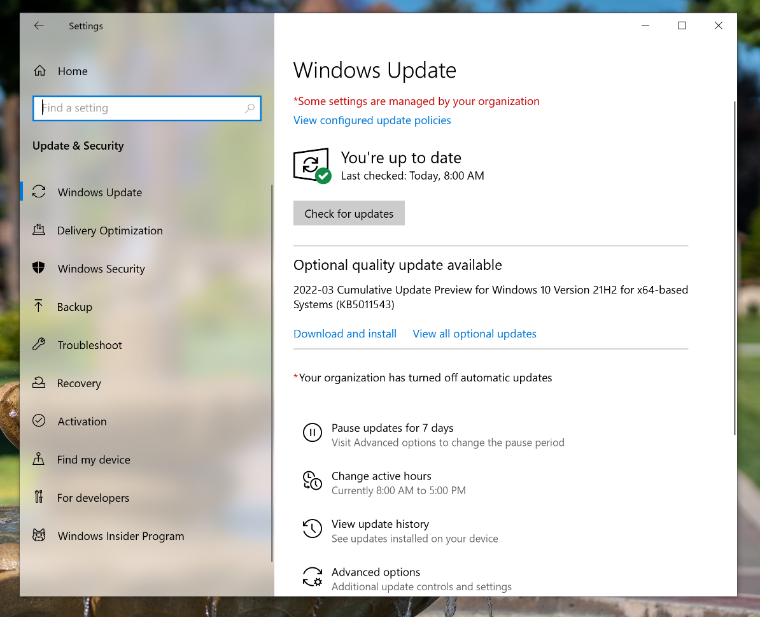
4. On the left panel, click "Backup"
5. Click "Add a drive".
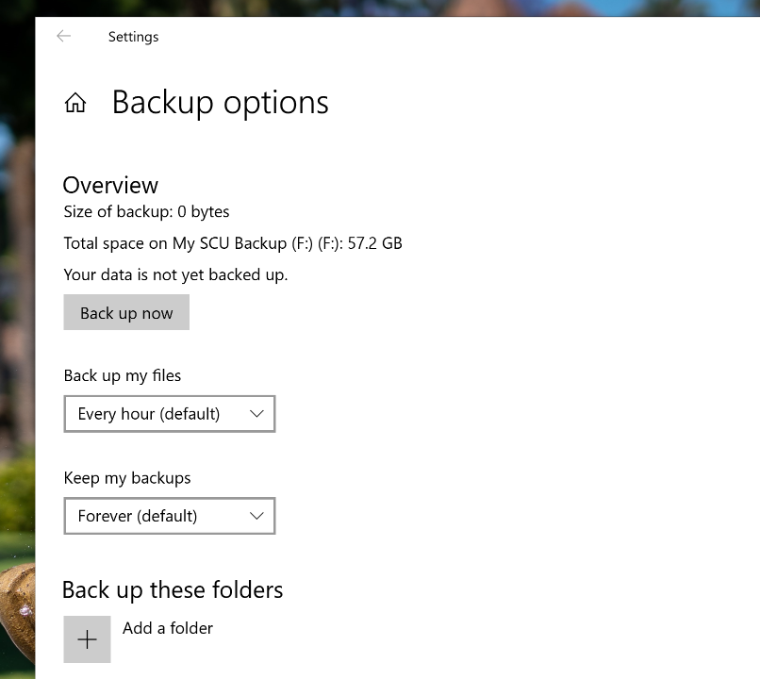
6. After you click on "Add a drive" a window will open with your external drive or backup media that is attached to your computer. In this demonstration mine is called "My SCU Backup" and is assigned the drive letter "F". Your drive letter and name of your external drive may be different.

7. "Back up using File History" will turn to the "on" position.
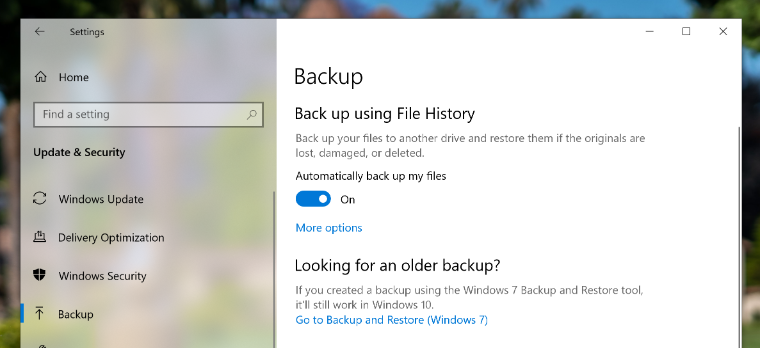
8. Click on "More options".
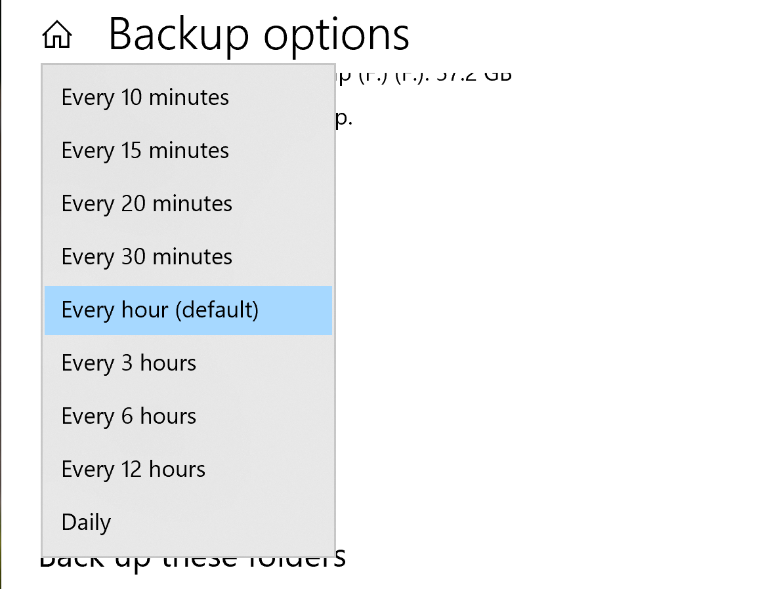
9. Click under "Back up my files" down arrow.
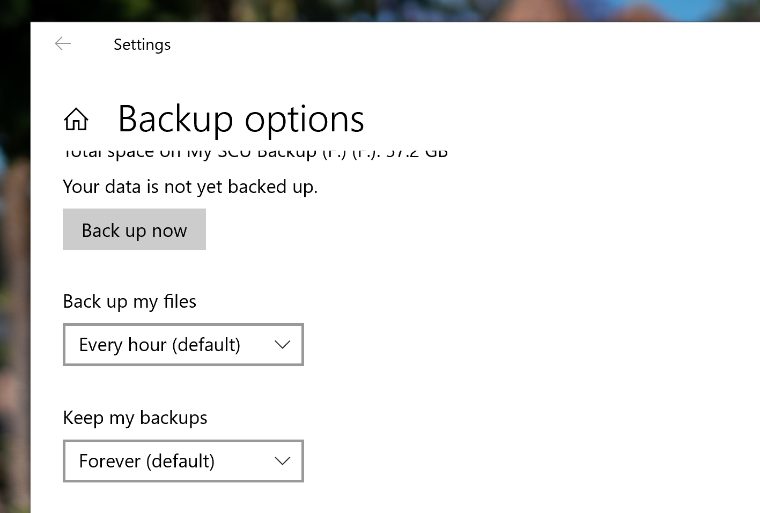
10. Choose how often you would like the backup to occur. Default is every hour.
11. Under "Keep my backup" choose how long you want to keep your backups. Default is set to Forever.
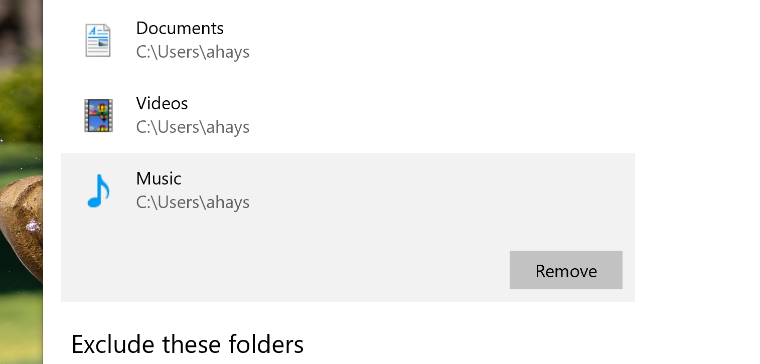
12. We suggest these folders to backup:
- Downloads
- Favorites
- Desktop
- Pictures
- Documents
We are only backing up the data and not your applications.
Only backup "Videos" and "Music" if they are work related.
For the remaining folders, just left-click on them and then click the "Remove" button.
13. Once you have the important folders selected to backup your files, click "Back up now".
Please note, you will need to keep the backup media attached to your computer for the data to be backed up.
macOS
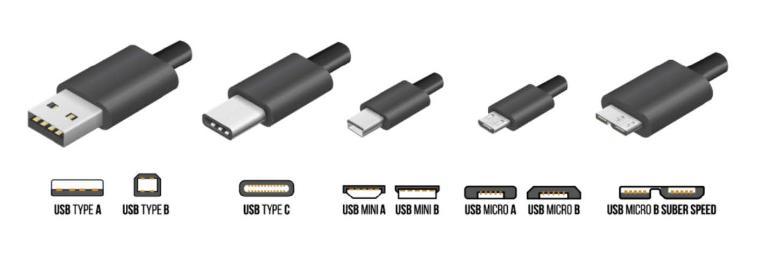
First you will need an external hard drive. We suggest 1 TB or larger. Depending on your Mac hardware, you may need a USB-C external drive.
1. Connect your external drive to one of your USB-C ports on your Mac. Your computer should automatically recognize the drive. You should also see the "Time Machine" setup appear automatically (if not, see Step 2). You will need to keep your external drive attached at all times in order to have it backup your files on a regular basis. Disconnecting the drive will result in longer future backups. Please note - Time Machine will ERASE the external backup drive during setup; be sure to use a drive that does not have important data already on it.
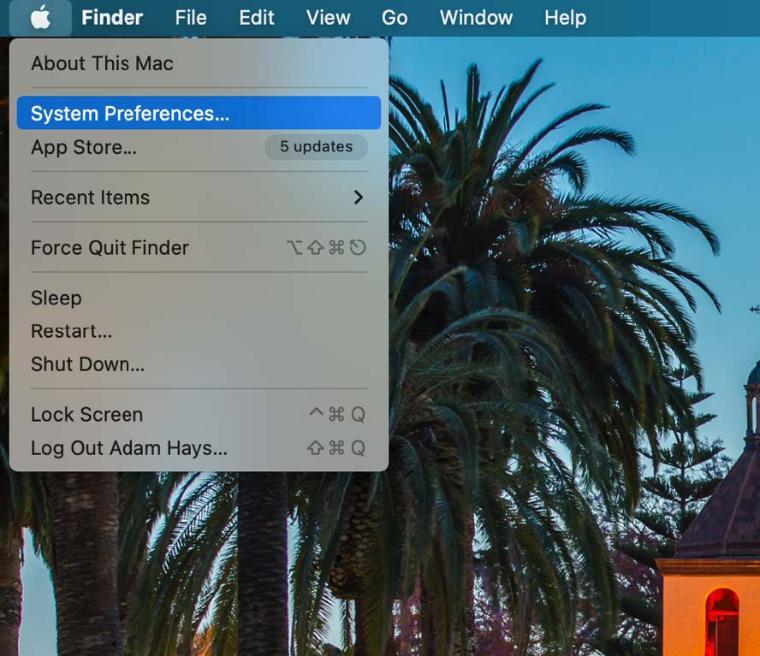
2. If the Time Machine panel didn't automatically open, click on the Apple logo at the top left corner of your screen and click "System Preferences".
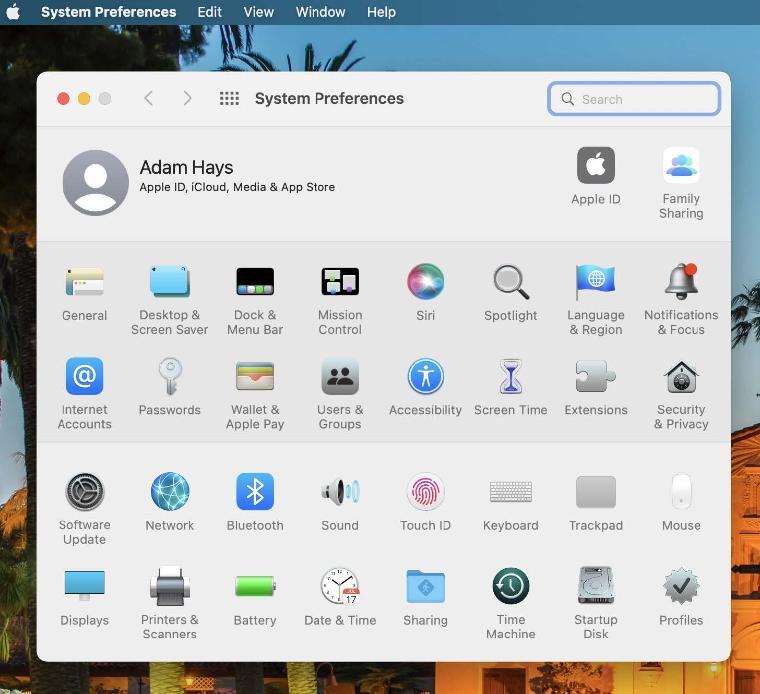
3. In System Preferences, click on "Time Machine" (last row, third from the right).
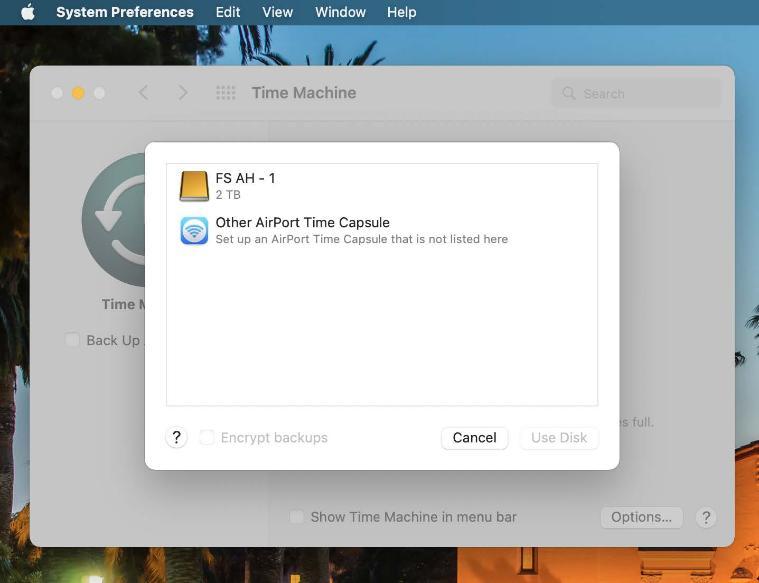
4. Click on "Select Backup Disk..."

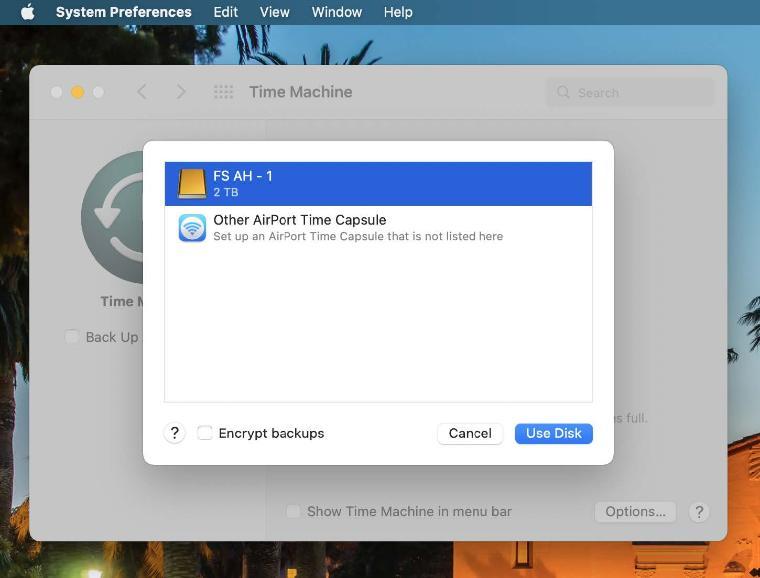
5. Choose your external drive (in this example, it's "FS AH - 1").
6. Click on the "Use Disk" button in the lower right.
7. When prompted if you want to erase the disk to be used for "Time Machine", click "Erase".
8. Once the external drive is erased it will be ready for Time Machine. You will need to change what is backed up as Time Machine will try to backup the entire computer. This will cause issues if you try to restore data due to other accounts on the computer.
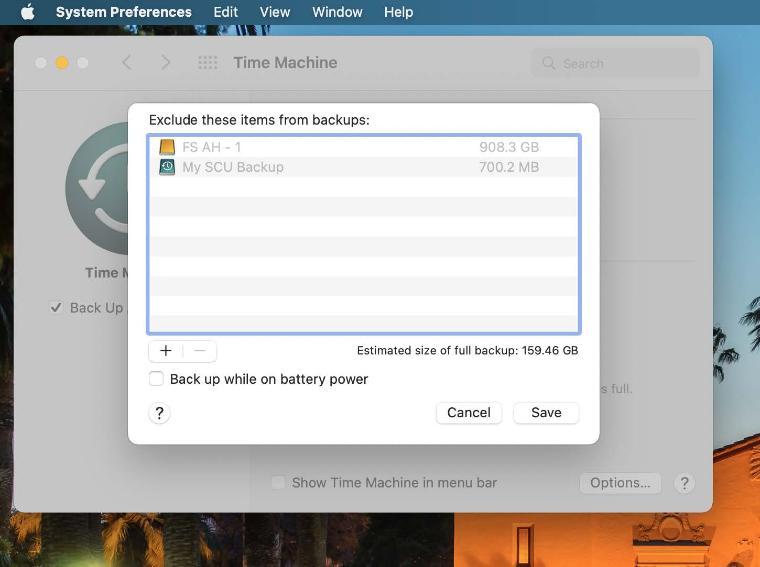
9. After the external drive is erased, click on "Options..." in the lower right of the Time Machine window.

10. On the "Exclude these items from backups" window, click on the + in the lower left.
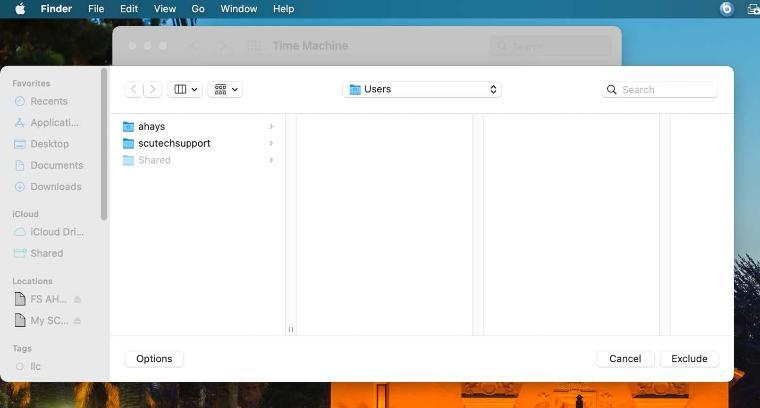
11. Click the "Users" folder in the middle and choose "Macintosh HD".

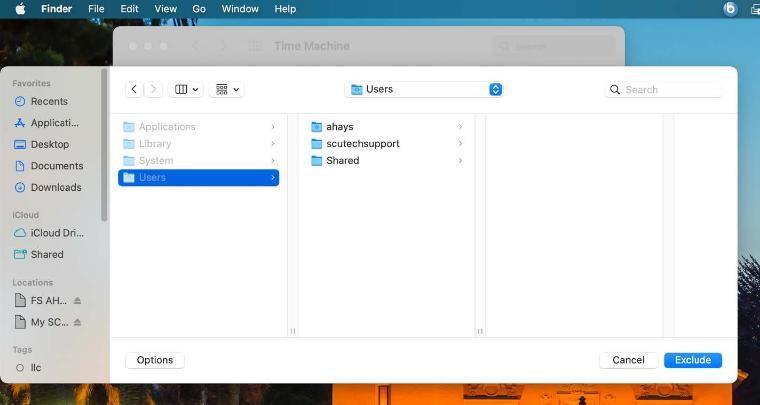
12. Click on "Users" in the left-hand column.
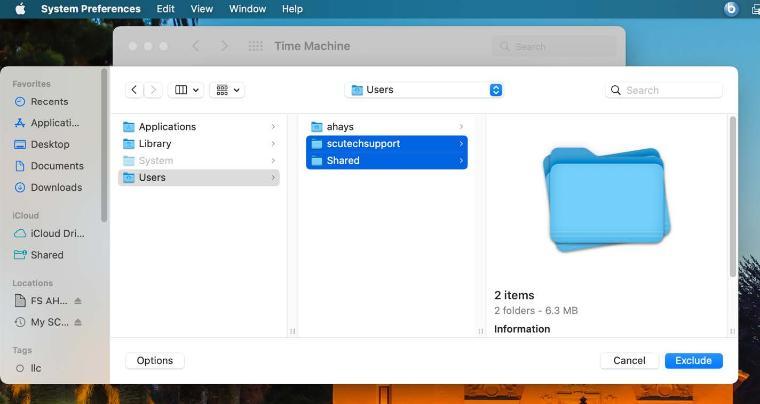
13. Hold the "Shift" key to select multiple folders and select all of the folders that are NOT your username, then click the "Exclude" button in the lower right corner.
14. Click "Save".
You're all set to backup your files in Time Machine.
To restore a file that you may have accidentally deleted:
1. To restore a file that you may have accidently deleted in your Documents folder (for example), open Time Machine by clicking the Time Machine icon  in the menu bar, top right corner near the clock, then choosing Enter Time Machine. If the Time Machine icon isn't in the menu bar, choose Apple menu
 ![]() > System Preferences, click Time Machine, then select "Show Time Machine in menu bar".
> System Preferences, click Time Machine, then select "Show Time Machine in menu bar".
2. Use the arrows and timeline to browse the local snapshots and backups.
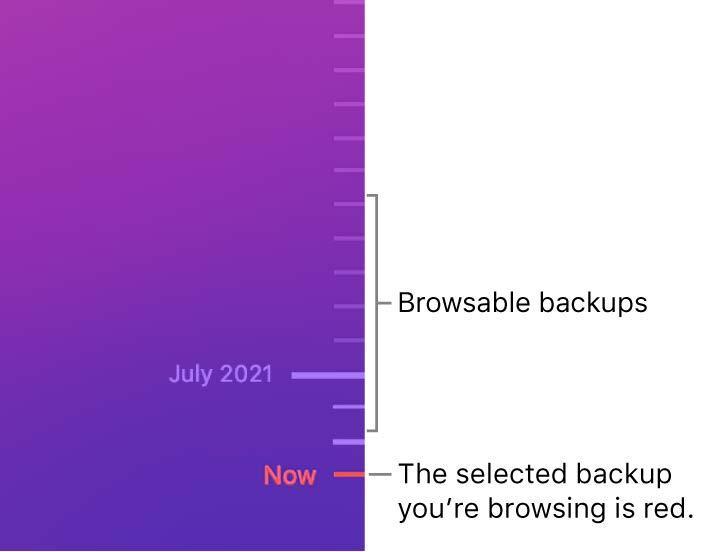
3. If you see a pulsing light to semi-dark grey tick mark, it represents a backup that's still loading or validating on the backup disk.
4. Select one or more items you want to restore (these can include folders or files), then click Restore. Restored items return to their original location.